
NOTE: This is meant for those who are already comfortable with top-down construction and want to learn how to adjust bottom-up/seamed construction patterns and also how to make gauge adjustments. – NOT FOR BEGINNERS (Sorry.)
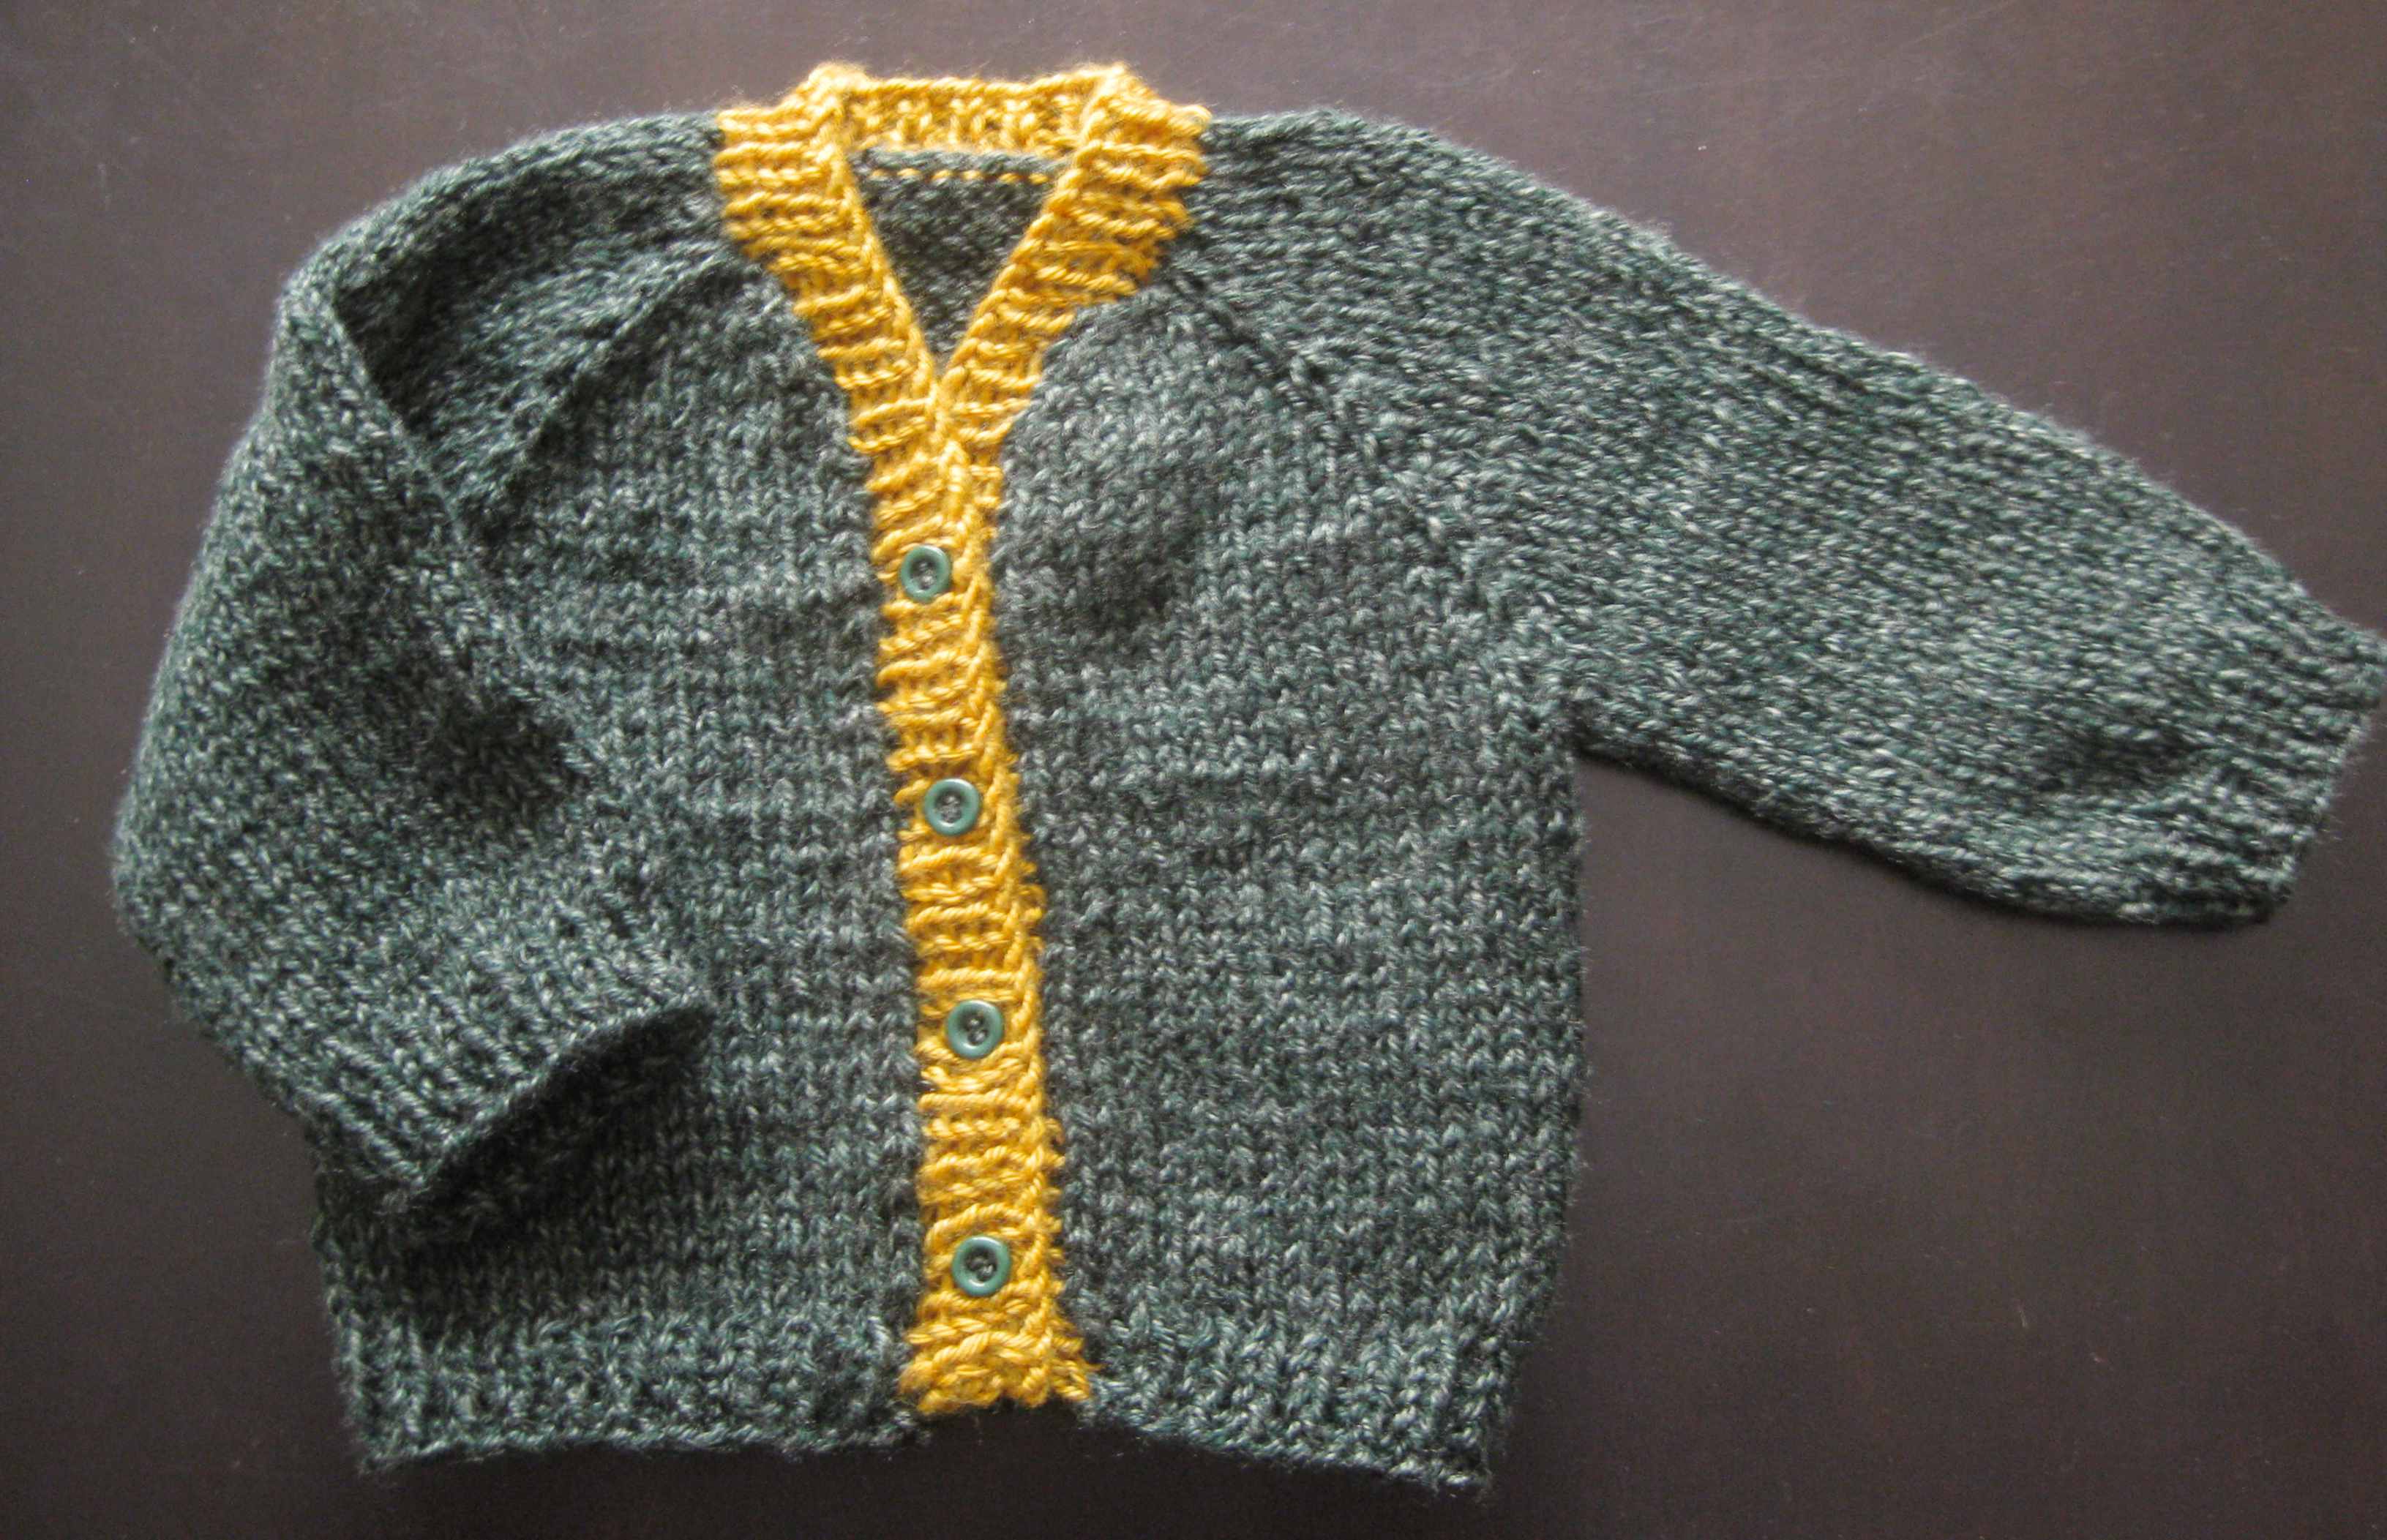
Recently, I picked up a baby sweater cardigan pattern that I really liked, but it works bottom-up and in pieces that need to be seamed. As you already know, I am a big Top-Down and Seamless knit advocate. So when I come across a regular bottom-up, ‘sections knit flat’ pattern I like, I try to make the adjustments for my preferred construction.
I chose a worsted weight yarn, but the pattern calls for a DK weight (that is just a bit thinner) This will change the gauge of the knitted fabric. So in addition to adjusting the construction to work top-down, I also have to adjust all the numbers to accommodate my heavier gauge.
Here is what I did:
First the gauge needs to be figured out. The DK suggests 22 stitches for 4″. That means 5 1/2 stitches per 1″. My gauge with the worsted weight is 16 sts for 4″. That means 4 sts per 1″. This is important information to know. We will be using the sts/1″ to calculate each part of the pattern. I decided on the 2nd size since the baby is already a couple of months old, this way I am sure it will fit him for a good long while. I have to use the stitch numbers in this size for all adjustments.
Using the pattern’s schematic, the width of the back from the bottom edge to the underarm shaping will be: 9 3/4″. That multiplied by 4 (sts/1″) = 39 sts. This would be what I would need for the width for just the back which includes extra stitches for seaming. I could easily remove 2 sts from this number (now, 37).
If this was a pullover sweater, I could, in theory, double that for a full circumference. But I want to make a cardigan which will have a button band. So the fronts are half the back, leaving an opening of at least 1″ at the center for overlapping button bands. Half of the back would be 18 1/2 sts. Rounding down to 18. Then I will remove 1/2″ (2 sts) from each the right front and the left front . 16 sts are needed for the width of each front piece (from the bottom edge to underarm).
As I read through the instructions of each of the sections of the pattern, I also see that the armhole shaping has 4 stitches bound off from both the back and front pieces, a total of 8 sts, or at 5 1/2 sts/1″, almost 1 1/2″ (In my gauge, that would be 6 sts for each underarm, 3 from each of the fronts and 6 (3 at each side) from the back). When working top-down, I will need to work to the underarm and stop with the fronts having 15 sts each and 31 sts total for the back. Then, when I close the underarm of each sleeve before I begin to work the body of the sweater I will need to cast on these missing stitches.
Since I will start at the neck, I need to know how many stitches to start with for my cast-ons. The pattern schematic does not show this in the measurements. Bummer! Reading further along in the pattern, I see there are instructions for the neckband. Here it instructs me to pick up a certain number of sts from the right front neck, top of the right sleeve, from the back , left sleeve and finally, from the left front neck. This tells me how many stitches – in the original gauge each of those pieces need to have at the top edge. By separating the sections, it also tells me where my markers will need to be for the increases for the raglan shaping. Super simple. With this information, I simply calculate how many inches each section is, by dividing each by 5 1/2 (the old gauge), and then multiply the answer by 4, (my new gauge) to figure out the number of sts I would need to start with for each section.But wait!There is front neck shaping that needs to be dealt with.
The neck shaping instructions are given as decreasing a certain number of stitches over a certain number of rows, ending with a final number of stitches which are bound off as the piece is completed. The number of stitches bound off in the old gauge, gets changed to the new gauge, giving me the number of stitches CO for the front sections. You need to read through the pattern instructions to see when the decreasing is. Working top-down, is basically reading the pattern backwards. So where there is decreasing for the neck line shape, you will increase, when they say, bind off at the neck line, you want to cast on.
Once I’ve got the Cast on numbers for each section; the marker positions; underarm increase; and fronts and back body stitch numbers, I am ready to get my needles out and start knitting.
Sleeves are done as typical top-down sleeves are done. Working down from the saved, live sleeve sts to the length necessary. If there is specific shaping needed, that is worked backwards according to the pattern, but instead of the increasing every so-many rows, there will be decreasing. This pattern has pretty much straight sleeves, so nothing exciting going on there.
When the main section (neck to waist) is completed, I will follow the neckband and button band instructions to complete the sweater. (Or, sometimes, I wing it.)
Let me know if this helps you make adjustments to bottom-up/seamed patterns or changing gauge when working with different sized yarns.